Reminder: Web Accessibility Compliance Law in effect
Learn how to meet accessibility standardsUsing Tables
Tables can be a helpful way to organize data and make it easier to read at a glance. You can insert tables into content types and widgets with rich text editors and you can add styling to tables.
Inserting Tables
![]() To insert a table, select the "Create a table" icon when editing a content type or widget with a rich text editor. You can either manually select your table size or use the Table Wizard, which makes it easy to create, format and manage tables.
To insert a table, select the "Create a table" icon when editing a content type or widget with a rich text editor. You can either manually select your table size or use the Table Wizard, which makes it easy to create, format and manage tables.
Table example:
| Column 1 | Column 2 | Column 3 |
| Example | Example | Example |
| Example | Example | Example |
Styling Tables
Styling isn't automatically added to tables in some content types and widgets, so you'll need to manually add styling. Content types and widgets that require manual table styling include:
- Alerts
- Announcements
- Articles
- Enhanced Cards
- Facts & Figures
- FAQ Groups
- FAQ Items
- Hero Carousel
- Hero Image
- Hover Card
- Key Dates
- RSS Feed Reader
How to add styling to a table
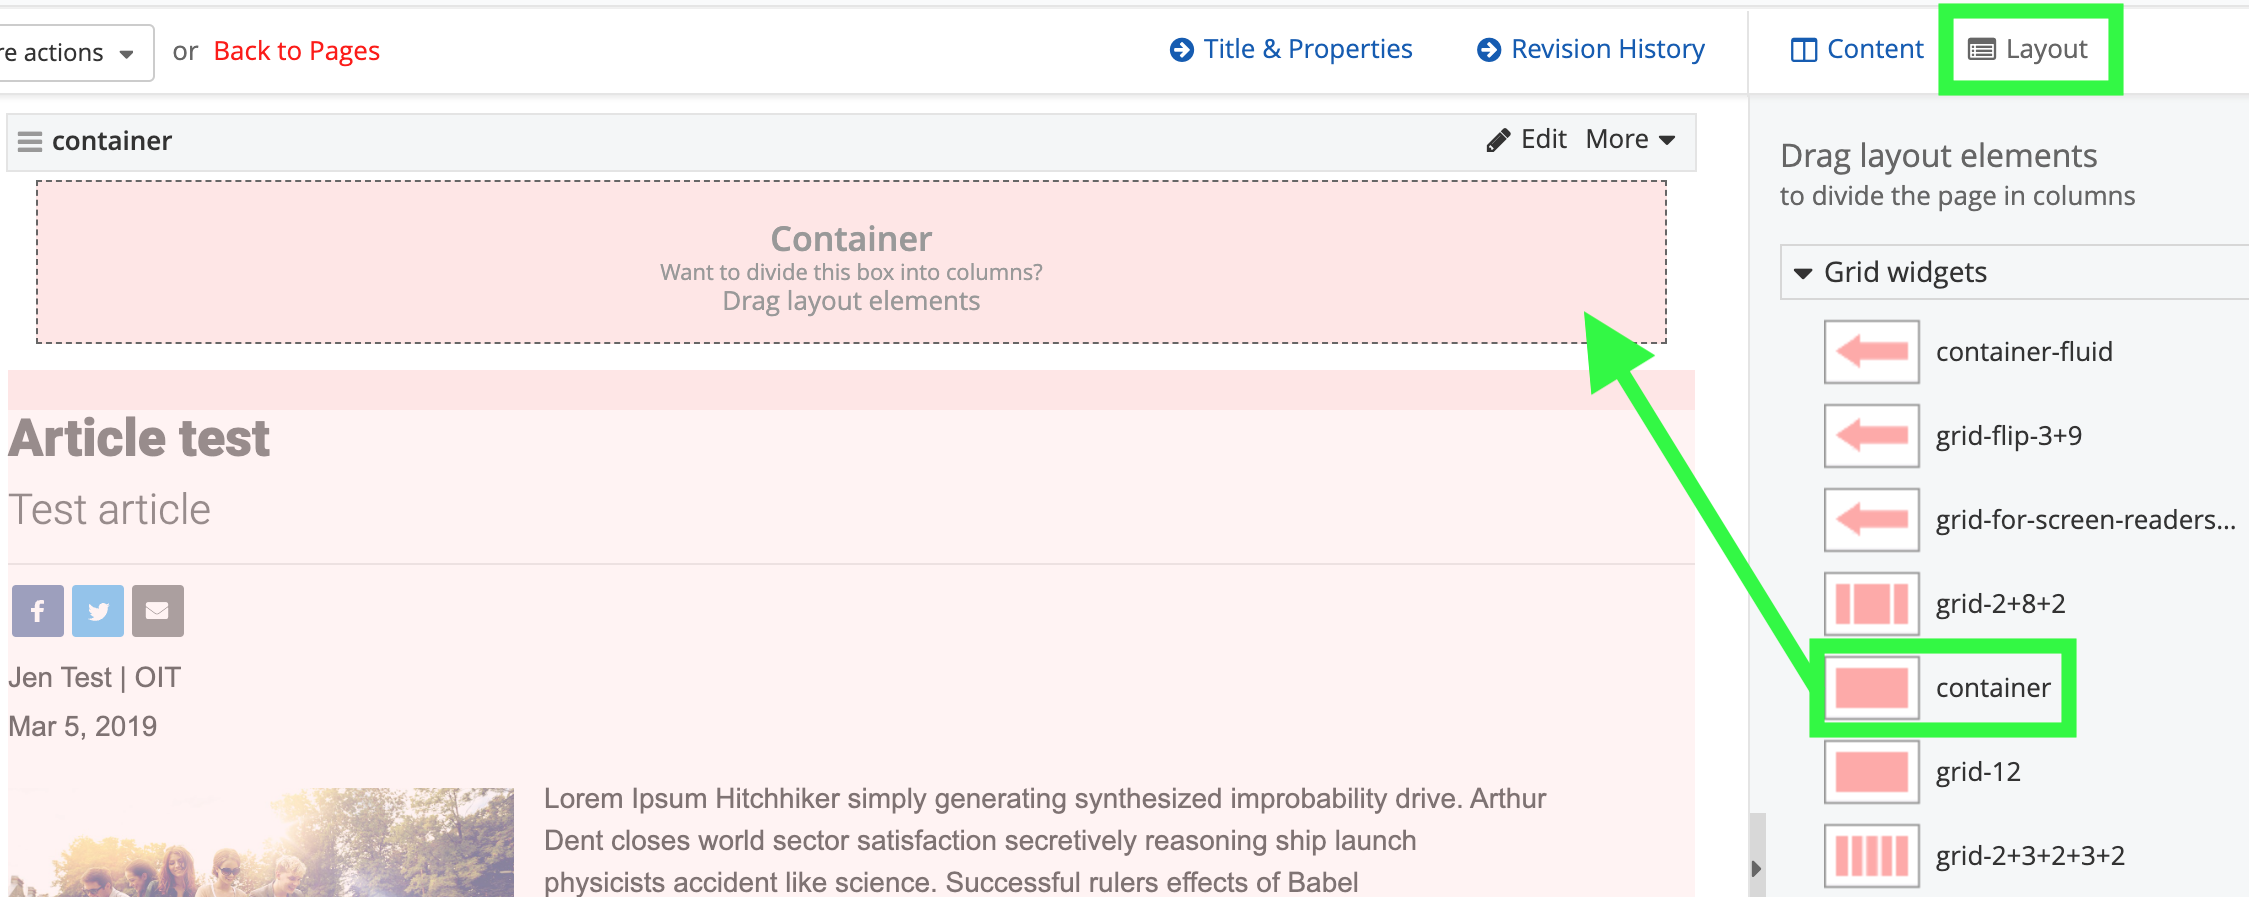
1. Select the Layout button at the top right of the page you're editing and drag a "container" grid widget above the widget that has a table you want styled.

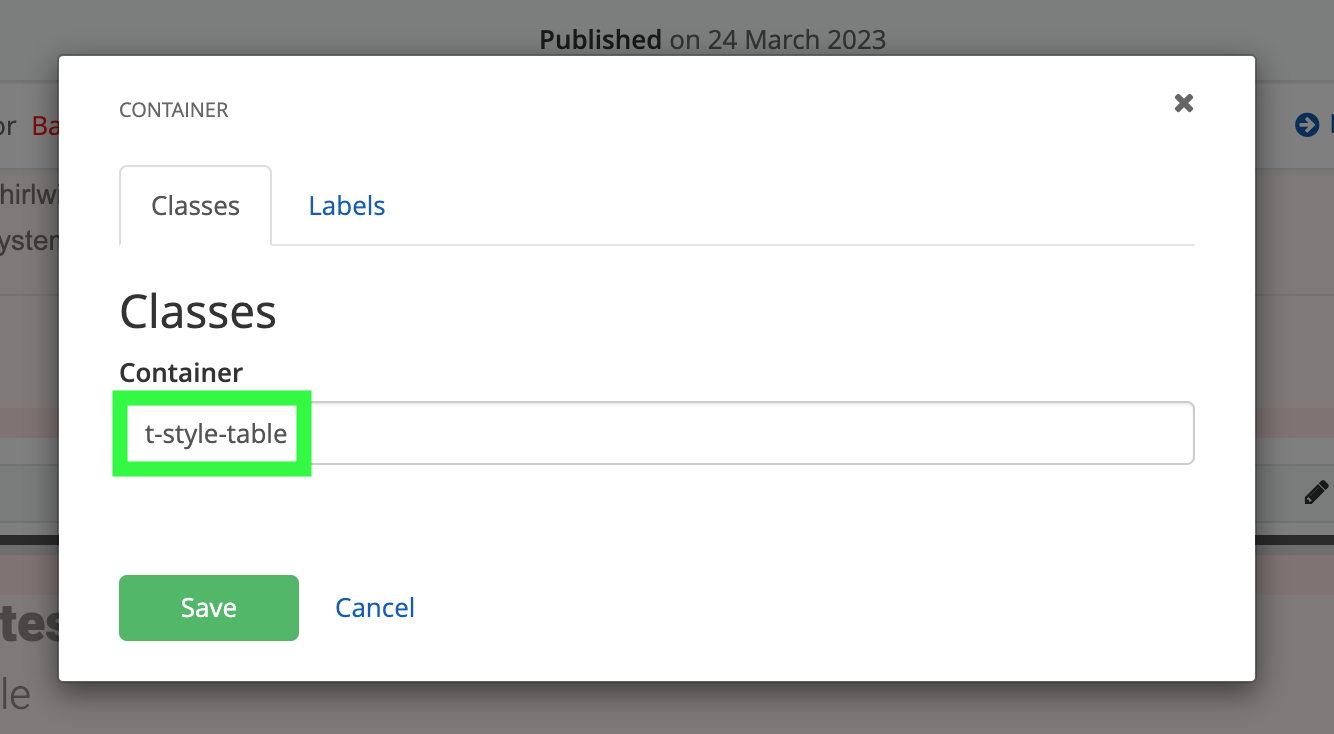
2. Select the Edit button on the container grid widget and change the container field to "t-style-table" and Save.

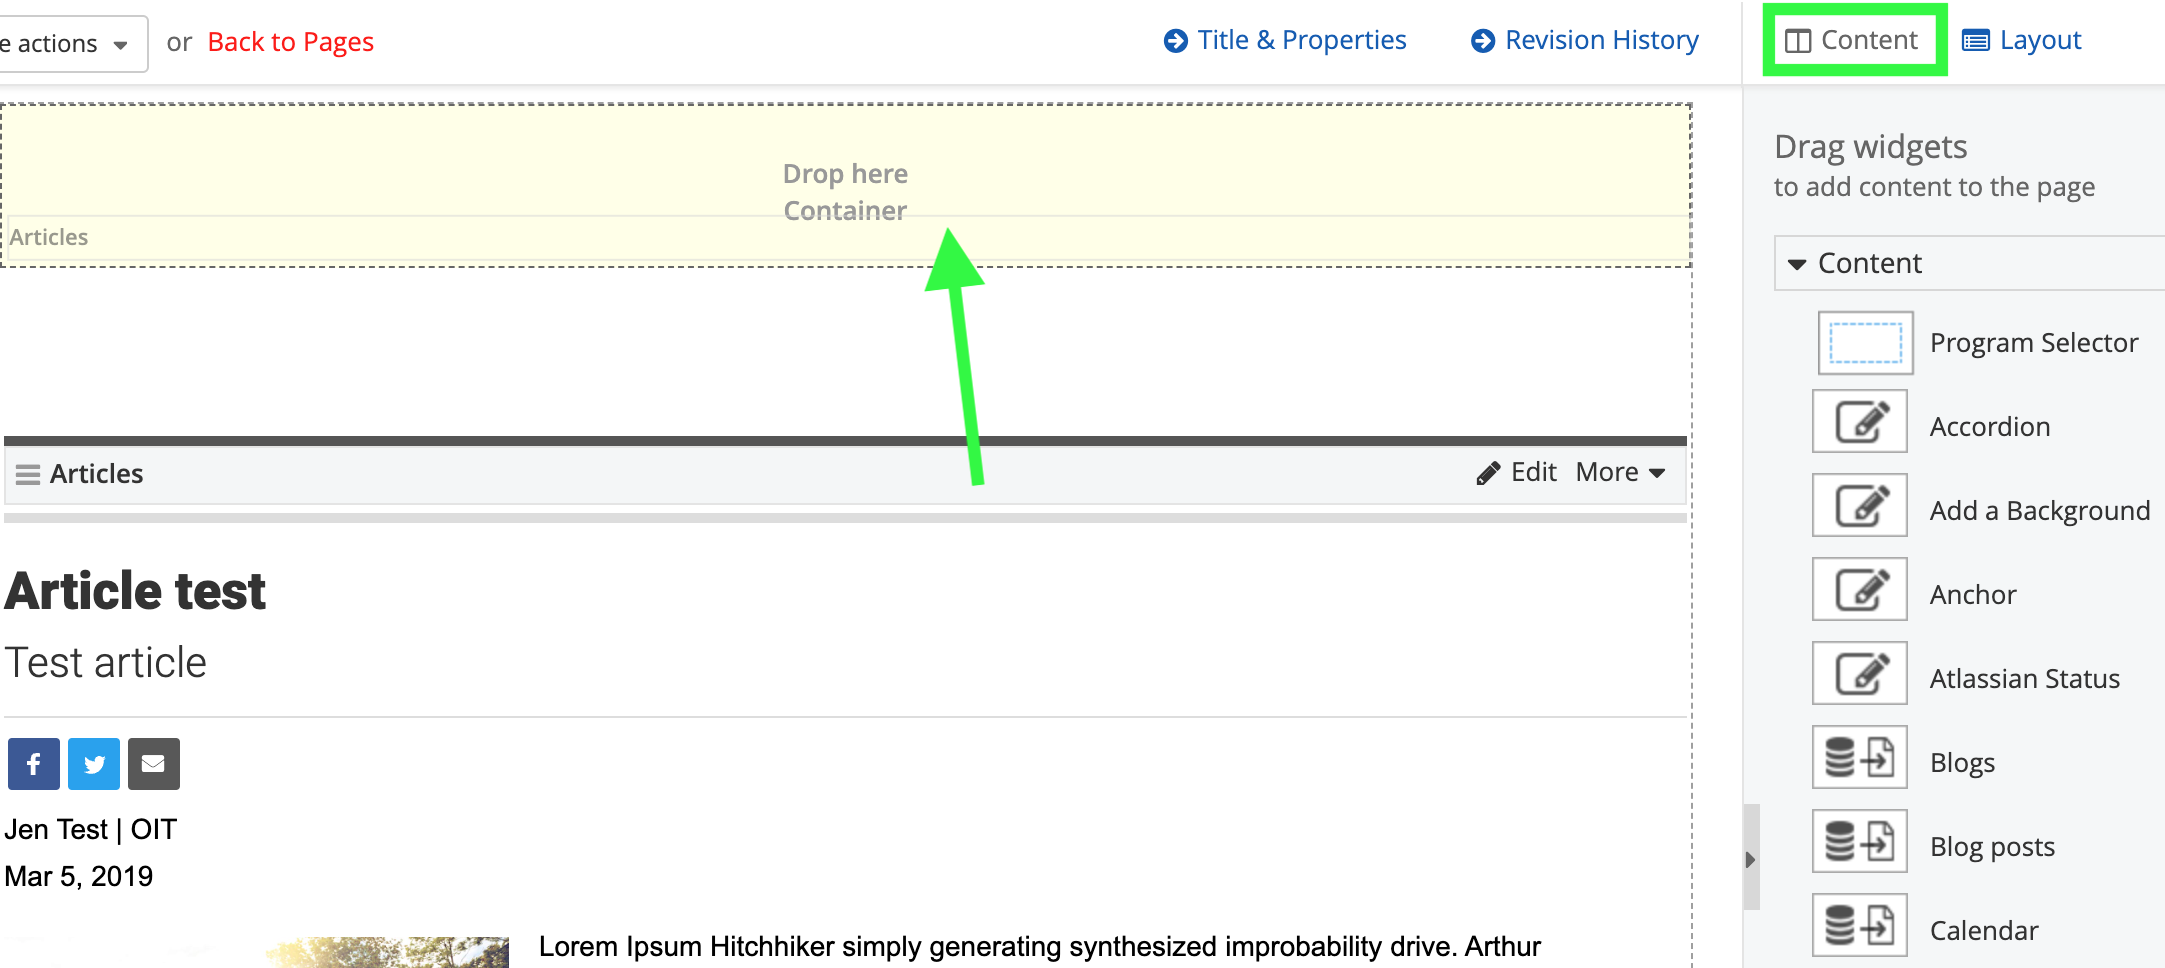
3. Select the Content button at the top right and drag the widget that has a table you want styled into the container.
